



Get the new Great British Sewing Bee book worth £30 when you subscribe to Simply Sewing magazine

Recreate Claudia Winkleman’s iconic Traitors wardrobe with our top pattern picks and handy fabric guides

The Cricut Joy Xtra™ is a super versatile machine that is enables you to bring creative idea to life. We jumped on the cottagecore trend to create this stylish mixed media tote bag. We combined the Cricut Joy Xtra™ Print Then Cut function with some basic embroidery stitches to make this truly one of a kind project. Follow our easy step-by-step instructions to make this project for yourself.
For more free projects and inspiration sign up to our newsletter!
To learn how to work these stitches, click here!

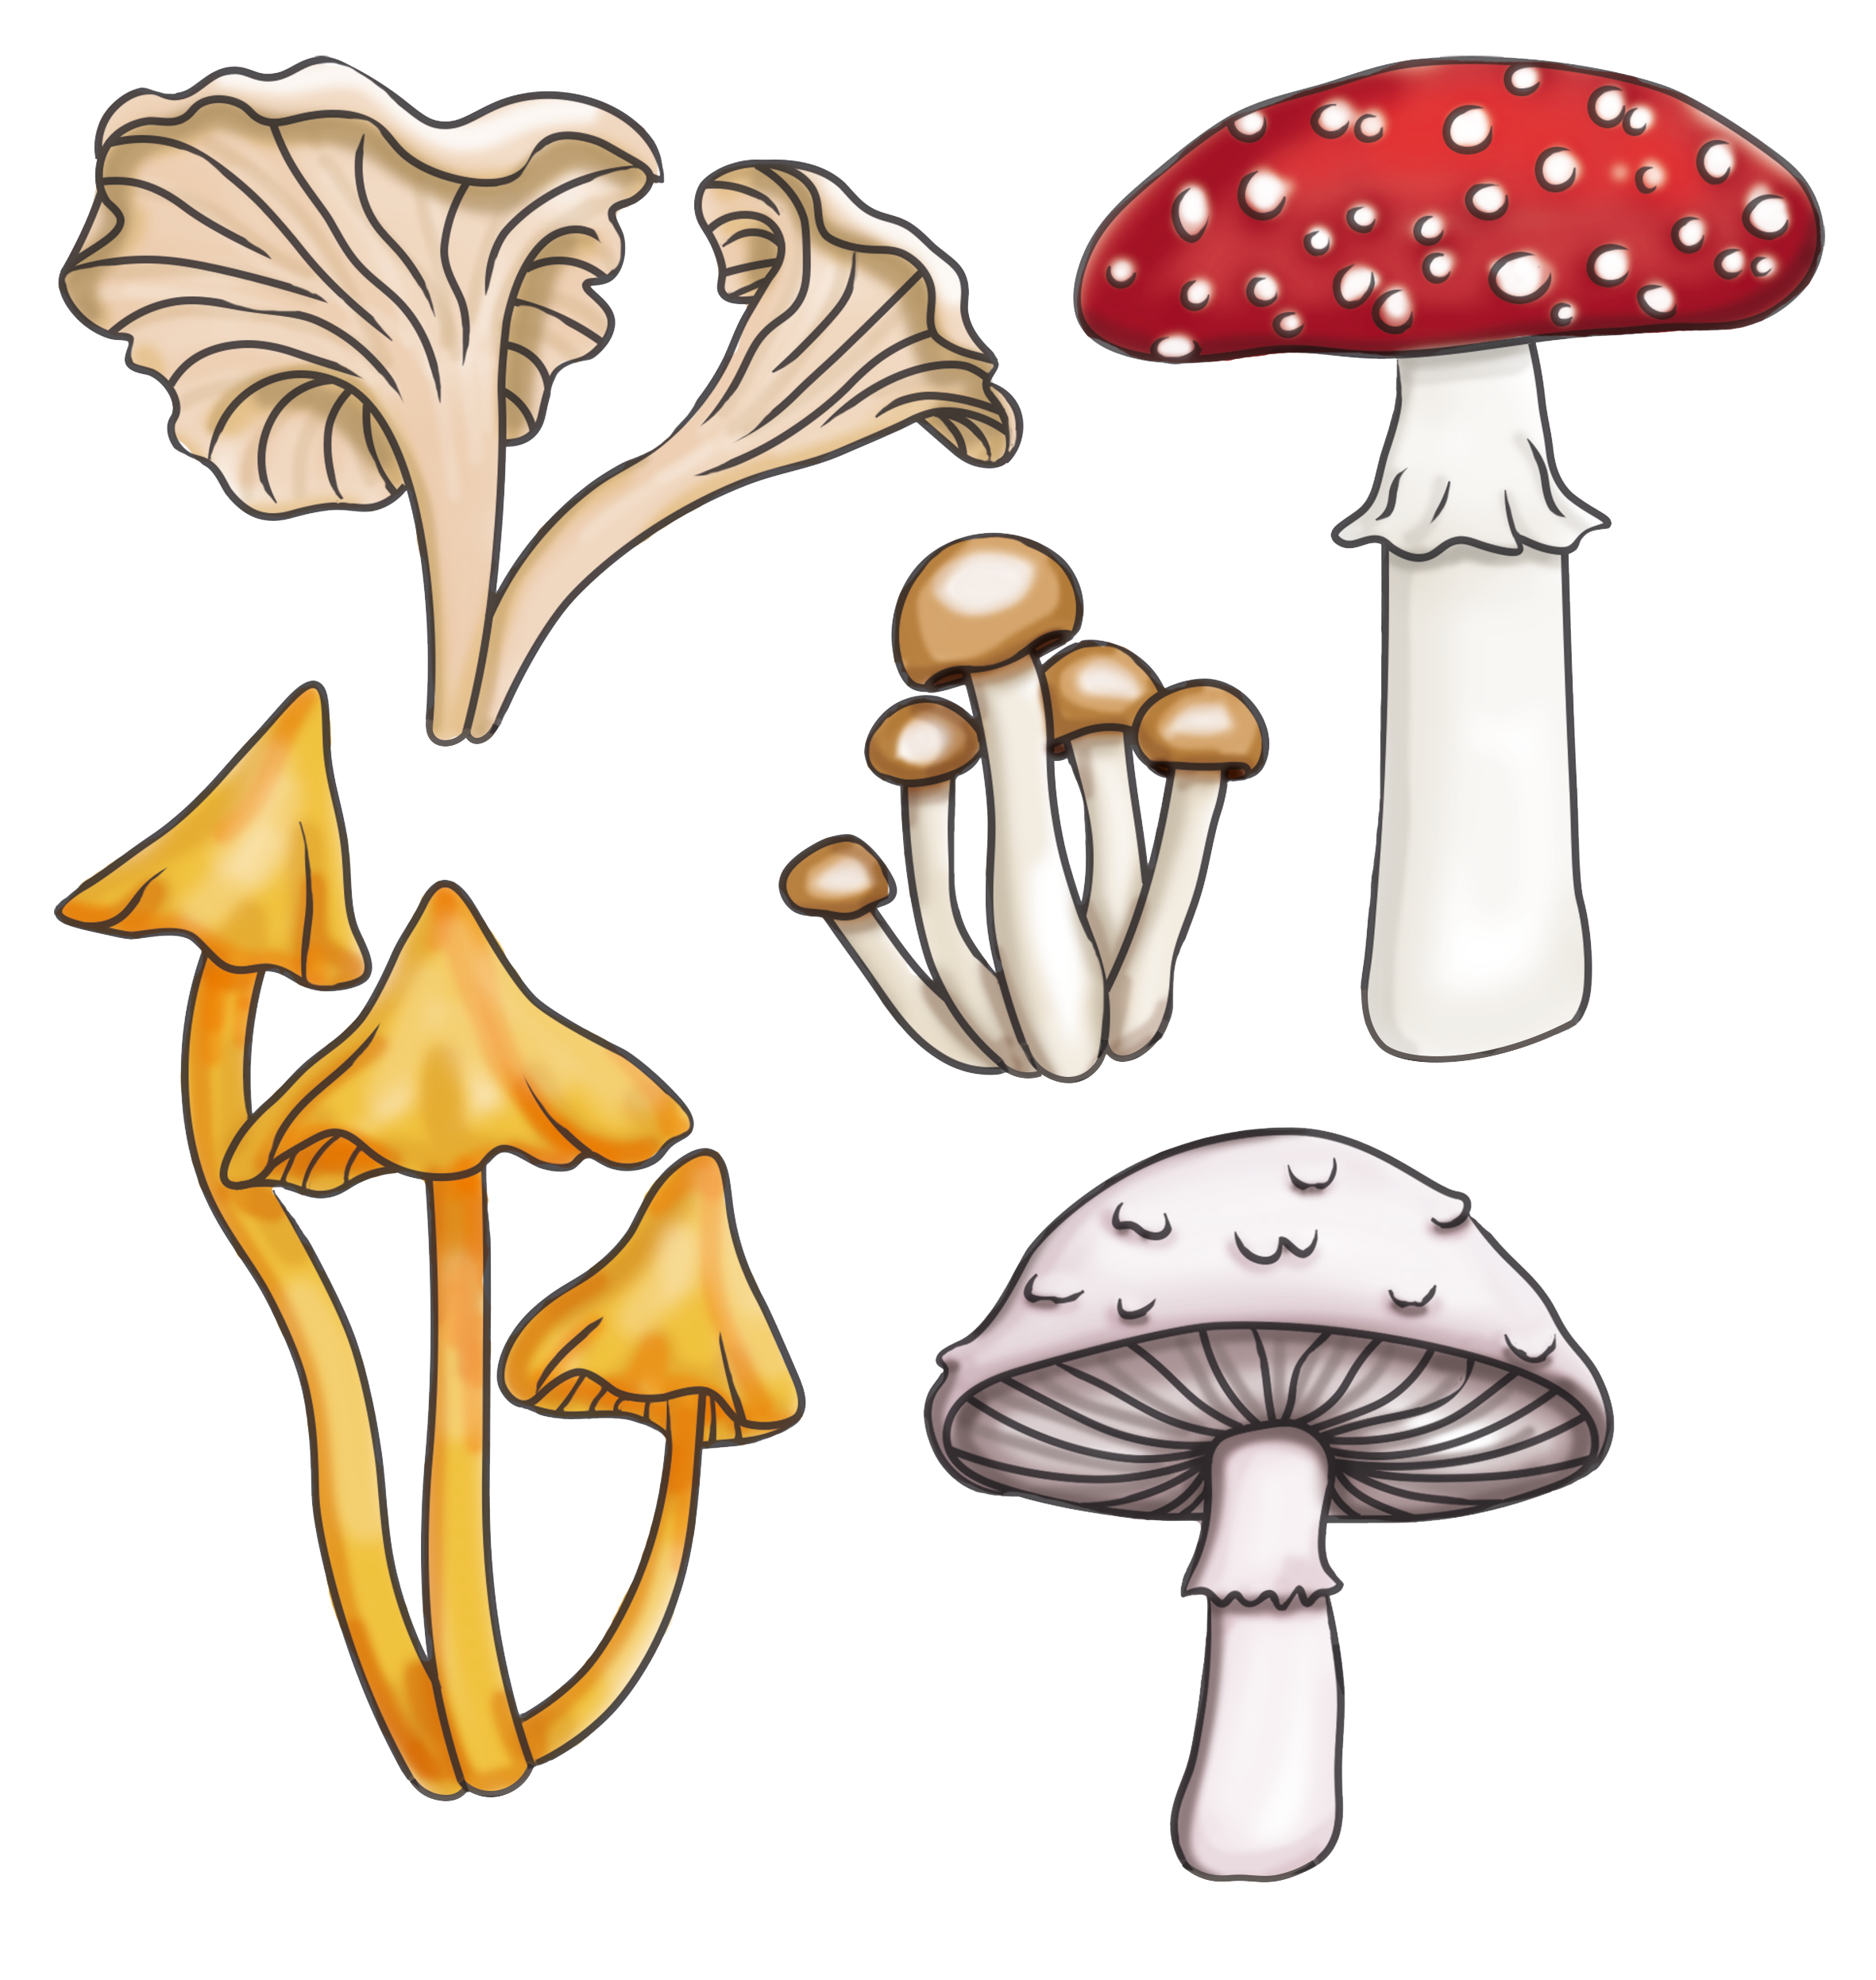
To download the patterns for this project click here for the PNG download or here for the SVG download.
Load up the Cricut Design Space app and upload the design. Download the PNG file (or SVG if preferred) then upload to the Cricut Design Space app. Click new project, upload, select the file then click continue. Then select flat graphic and then click upload. Auto resize the image then click ‘Make”. Check your setting before clicking continue.

Then print the design making sure your Cricut Printable Iron-On for Light Fabrics is the correct way up in your printer- do a test print on paper first if you are not sure which way up the paper should go in you printer. You want the print to be on the plain side of material. Select “Iron-On, Printable Iron-On, light”. Stick the printed design onto the Cricut Joy Xtra™ Light Grip Machine Mat and then load the mat into the machine. And then click go to cut around the motifs.

Prewash the bag and allow to dry completely, then iron your bag – this will ensure the transfers will have strong adhesion to the fabric. Then remove the material around the motifs and loosely cut around each design. Arrange on the front of your bag.

Then carefully peel off the designs from the background and then place the front of the bag. Lay the pressing sheet (that comes with the Printable Iron-On for Light Fabrics) over the designs, then iron to adhere the motifs to the fabric.

Use a heat erasable to add some long curved leafy sprigs, some pairs of larger leaves and some stars scattered around the mushroom designs. You can add as few or as many as you like- just make sure there is an even coverage across the whole design.

Use dark green in four strands to work the long curved leafy sprigs using Backstitch for the stem, and Lazy Daisy Stitch. If you are new to embroidery then check out our complete guide to embroidery for beginners.

Next work the pairs of larger leaves using four strands of green, stitching the stems in Backstitch and the leaves using Satin Stitch.

Finish by stitching the stars using Straight Stitch one or two strands of metallic gold thread. Once stitching is complete make sure your ends are firmly secured then turn the bag inside out and use the pressing sheet to iron the design and remove the pen marks. For additional support iron a panel of fusible interfacing onto the back of the stitching- this is optional but it will protect the stitching and add more security to the stitches.

We hope you’ve enjoyed learning how to make this adorable cottagecore mushroom tote bag!
If you like the look of this design but aren’t sure if the Cricut Joy Xtra™ is the right machine for your needs – check out our full review here.
Make sure to tag us using #loveembroiderymag on socials


Never miss an issue! Sign up to receive your favourite magazine every month – delivered straight to your door.
Sign up today